Table of Contents:
Introduction
Privacy window film is a thin polymer sheet applied to glass surfaces to block visibility while allowing natural light to pass through. Homeowners, renters, and office managers use this versatile product to add privacy to bathroom windows, glass doors, and plain glass surfaces without sacrificing daylight or style.
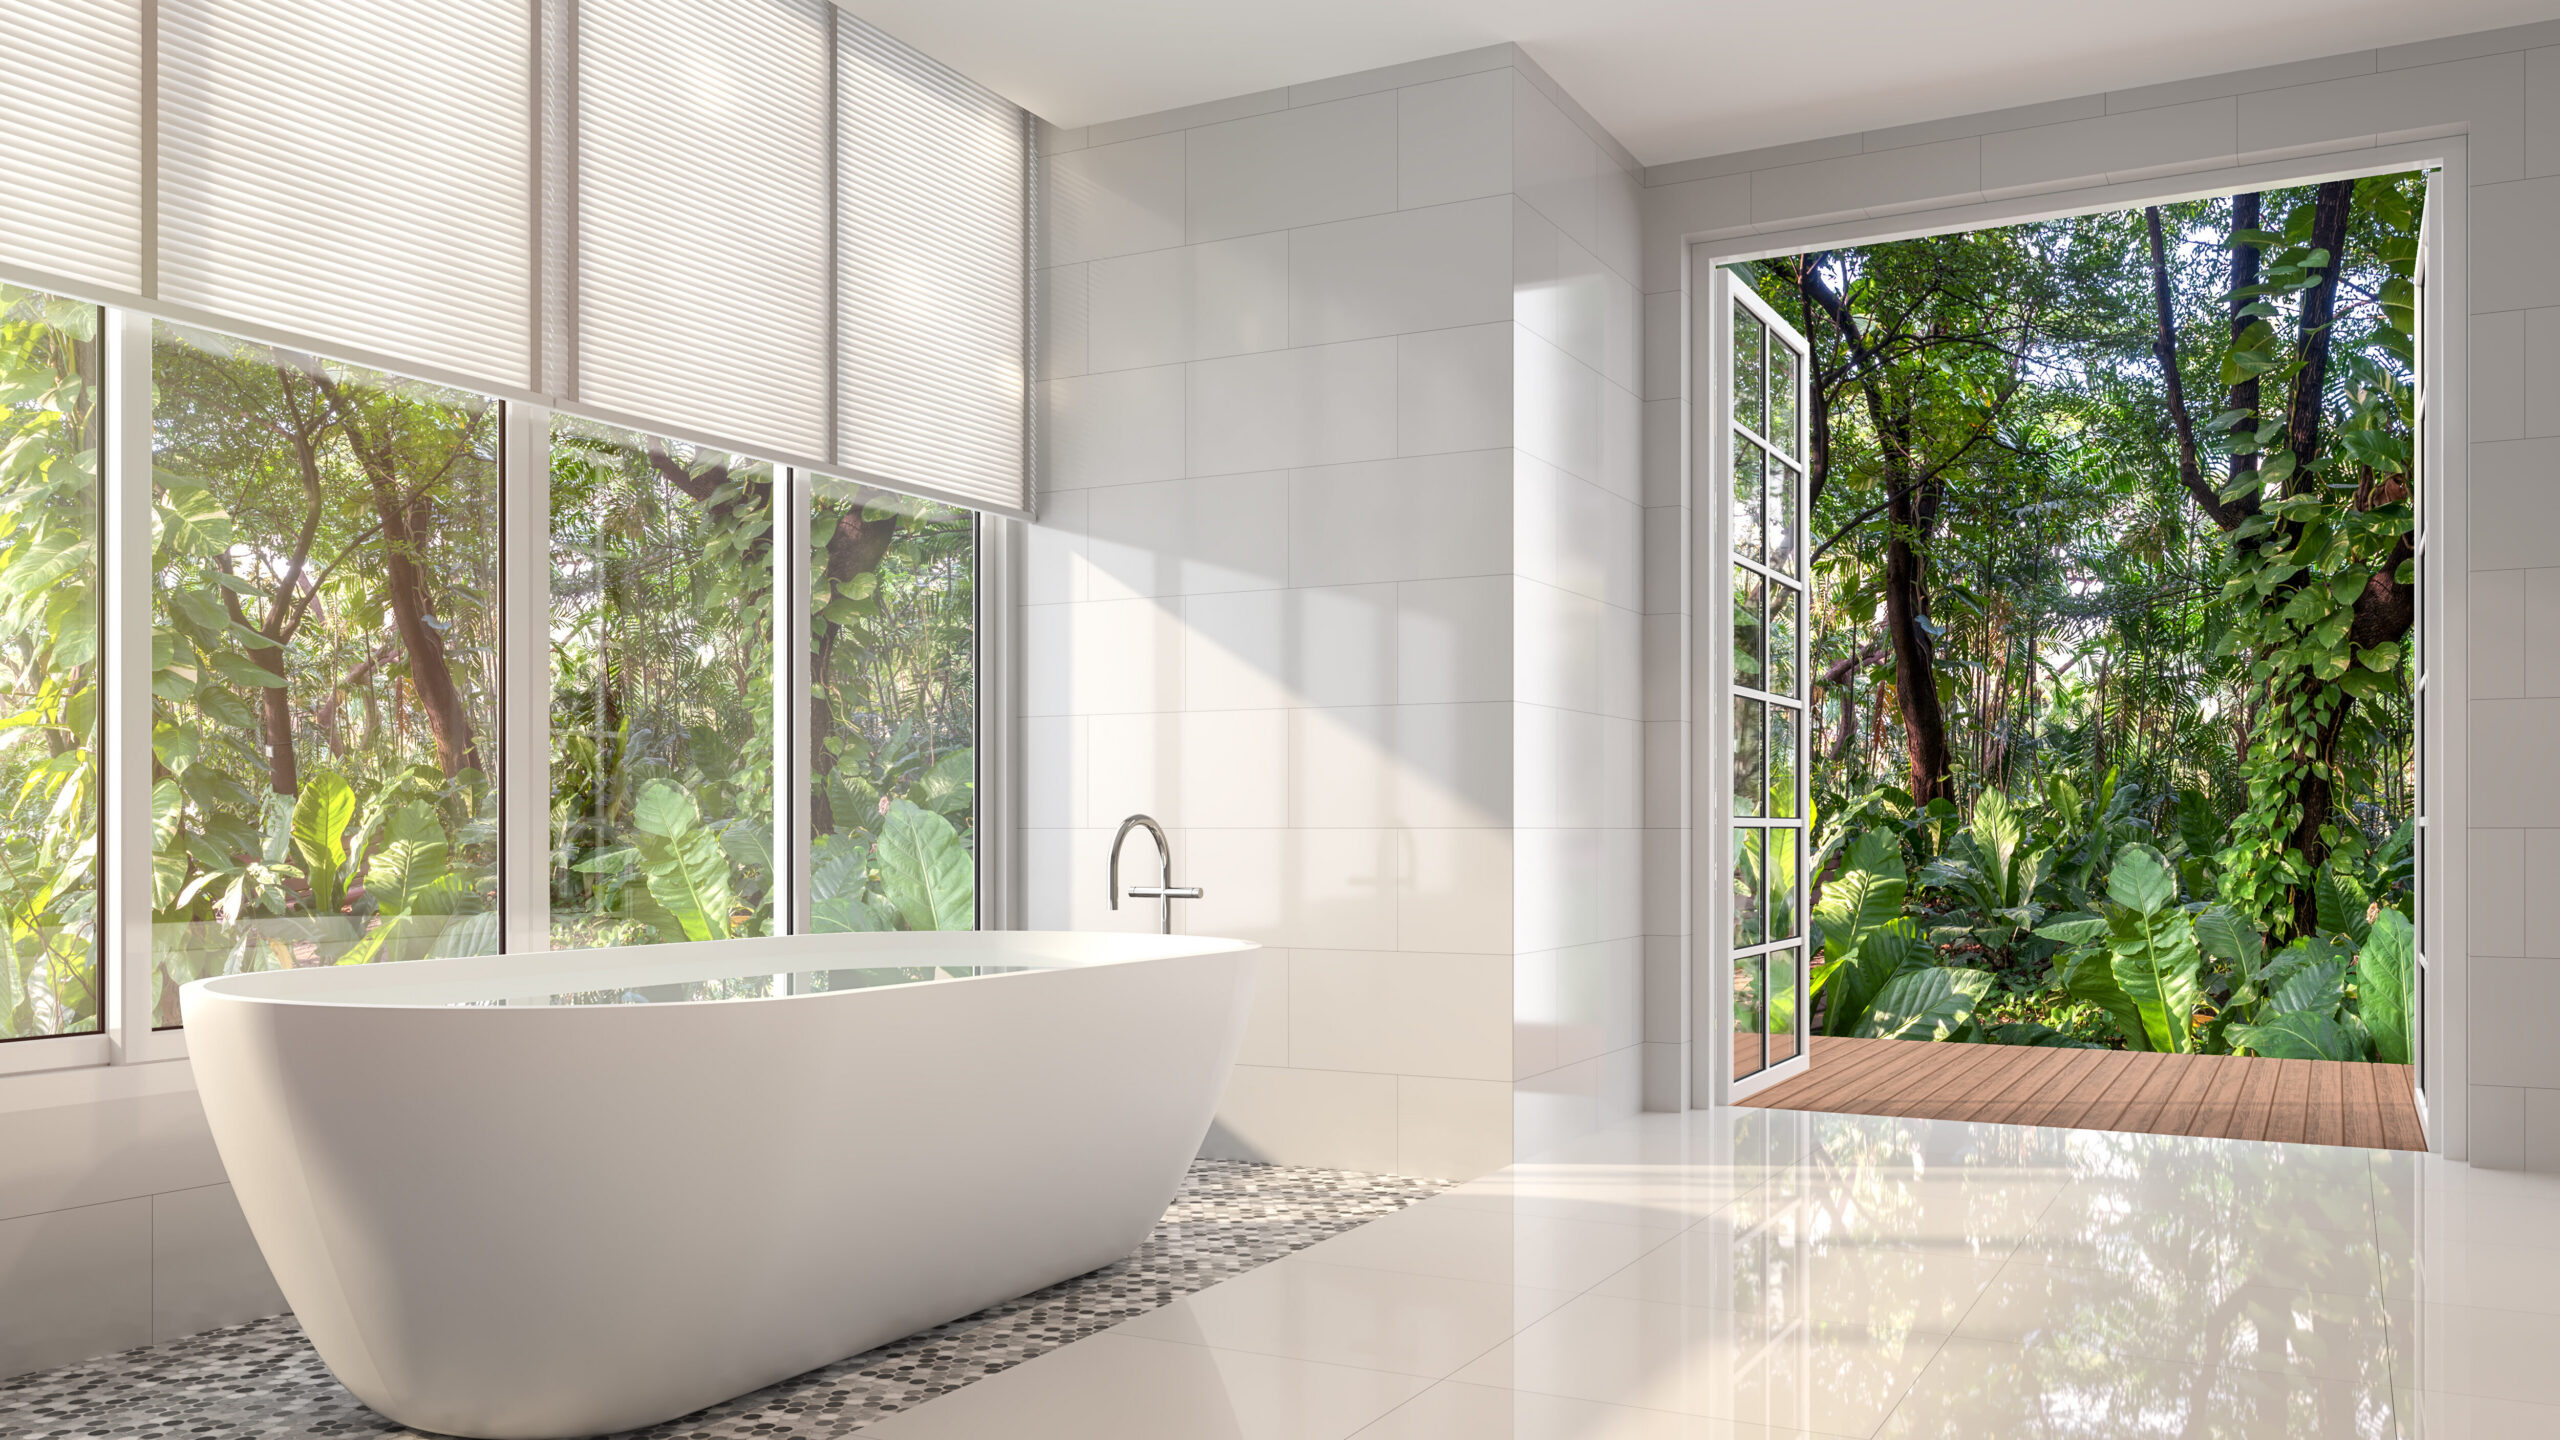
This guide covers everything you need to know about privacy window film: the different types available (including stained glass window film and frosted design options), installation methods, benefits, and selection criteria. Whether you want to hide a bathroom window from neighbors or create a decorative focal point on your front door, this resource addresses your specific needs and goals.
Direct answer: Privacy window film blocks outside visibility while maintaining light transmission by using technologies that scatter, reflect, or diffuse light passing through the glass.
By reading this guide, you will understand:
- How different film technologies work to enhance privacy
- Which film type best fits your space and lighting requirements
- Step-by-step installation techniques for DIY application
- How to solve common installation problems
- The energy-saving and UV-blocking benefits of quality films
Understanding Privacy Window Film
Privacy window film is a specialized laminated material—typically polyester or vinyl—that adheres to glass to obscure the view while permitting varying degrees of natural light. Unlike curtains or blinds that hang in front of windows, these films become part of the glass surface itself, providing continuous coverage without blocking your room from sunlight.
The effectiveness of privacy films depends on the specific technology used to modify how light interacts with the glass. Some films scatter light to blur images, others reflect it to create a mirror effect, and some combine multiple properties for enhanced performance.
Static Cling vs. Adhesive Films
Static cling films adhere to glass through electrostatic attraction rather than glue. Many privacy window films utilize static cling technology, allowing for easy application and removal without leaving adhesive residue on the glass surface. This makes them ideal for renters or anyone who wants a temporary solution. Static cling window films are easy to apply and remove, requiring no adhesive, which allows for repositioning without leaving a sticky residue. However, static cling options may lift at corners in humid conditions or temperature extremes.
Adhesive films use a pressure-sensitive glue layer that bonds firmly to the glass. These films offer superior edge sealing and long-term durability, making them better suited for permanent installations. The tradeoff is that removal may require solvents or professional help, and poor surface preparation can lead to peeling over time. Many privacy window films are suitable for DIY installation but professional installation is recommended for large reflective films.
Both technologies provide privacy—the choice depends on whether you need a removable solution or a permanent enhancement for your home.
Privacy Levels and Light Transmission
Privacy films range from semi-translucent options that obscure shapes while flooding a room with light to completely opaque films that block all visibility. Visible Light Transmission (VLT) measures the percentage of light passing through: frosted films typically transmit 22-60% VLT, while heavily tinted options may allow only 5-20%.
Privacy window films are available in a variety of styles, including stained glass and frosted designs, which can filter light while maintaining privacy. For bathroom windows where complete privacy matters most, films with higher opacity work best. For an office space where you want to hide computer screens from hallway traffic, moderate frost levels maintain brightness while blocking direct sight lines.
Understanding these light transmission levels helps you select a film that balances privacy needs with your room’s natural light requirements—a critical consideration we’ll explore further in the types of films available.
Types of Privacy Window Films
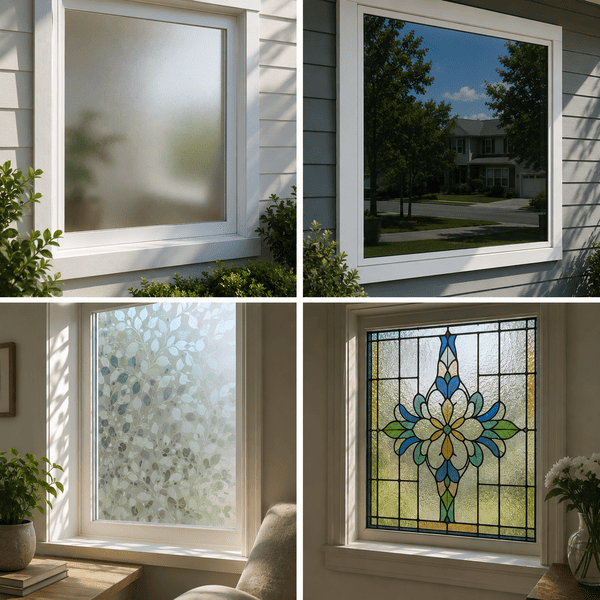
Window films are available in a variety of designs, including stained glass, frosted, etched, and patterned options, allowing for both aesthetic appeal and functionality. Each type offers distinct privacy levels, light characteristics, and decorative possibilities.
Frosted and Etched Glass Films
Frosted films simulate the look of sandblasted or acid-etched glass without permanently modifying your windows. These films use micro-textures in the polymer layer to scatter light, creating a soft, matte appearance that obscures silhouettes and details from both inside and outside.
Privacy house window tint can enhance the aesthetic of spaces while providing a layer of privacy by using various designs such as frosted, etched, and patterned films. Frosted options work exceptionally well for bathroom windows, shower doors, and front door sidelights where you need to hide interior views while maintaining bright, diffused lighting. The etched glass appearance adds elegance to plain glass surfaces without the cost of actual glass replacement.
Light diffusion through reflective window tint creates an even glow that reduces glare while keeping your space naturally illuminated. Gradient versions allow partial transparency zones—useful for office partitions where you want privacy at eye level but open views above.
Decorative Privacy Films
Decorative films combine privacy with visual enhancement, transforming ordinary windows into stylish features. Stained glass window film recreates the look of traditional colored glass at a fraction of the cost, casting colorful light patterns into your room while blocking direct views.
Decorative window films, including several distinct types of decorative glass films, can transform ordinary glass surfaces into stylish features, enhancing the overall decor of a room while providing light-filtering capabilities. Popular pattern options include bamboo textures, geometric designs, floral motifs, and mosaic arrangements. These films suit kitchens, bedrooms, and living spaces where you want to add personality alongside privacy.
Many tints for house windows are designed to be easily cut to fit any size or shape of glass surface, making them versatile for various applications in home décor. Whether covering a corner window or an entire glass door, decorative films let you create custom looks that complement your existing style. Expect costs around $8-18 per square foot installed for quality decorative films with 10-15 year durability.
One-Way Mirror and Tinted Films
One-way reflection films use a metallic or ceramic coating to create a mirrored effect on the brighter side, providing daytime privacy. During daylight hours, the exterior surface appears reflective—like a mirror—while you maintain a clear view outward from inside. This technology relies on light differential: the side with more light appears mirrored to observers on the brighter side.
These one-way reflective films deliver significant heat control benefits, rejecting solar energy and reducing cooling costs. High-quality reflective films can reject 40-95% of infrared radiation depending on material (metallized, carbon, or ceramic construction).
The key limitation: at night when interior lights are on and outside is dark, the effect reverses, so understanding the best window film options for nighttime privacy is essential. Outside observers can see in while you see only your reflection. For 24-hour privacy, frosted or fully opaque options work better. Blackout films ensure total light and view blockage, providing complete privacy, ideal for bedrooms or media rooms where you need around-the-clock coverage.
Understanding these differences helps you match film type to your specific privacy timing needs and aesthetic preferences—essential knowledge before beginning installation.
Installation Methods and Application Techniques
Successful installation depends on matching your technique to the film type, window surface, and environmental conditions. Many window films can be installed in minutes, and DIY window film installation can be a quick solution for enhancing privacy and aesthetics in a space.
Step-by-Step Installation Process
The installation process for window films typically involves cutting the film to size, spraying water on the window, and using a squeegee to apply the film smoothly. Here’s the complete procedure:
- Measure and cut your film roll to size, adding 1-2 inches on each edge for trimming. Many films can be cut to fit any shape of glass surface.
- Clean the glass thoroughly using ammonia-free cleaner and a lint-free cloth. Remove all dust, grease, and debris—any particles trapped underneath will show through.
- Spray the window generously with slip solution (water mixed with a small amount of mild dish soap). For adhesive films, also spray the adhesive side after peeling the liner.
- Apply the film to the wet glass surface, positioning it with even overlap on all edges. The water allows you to slide and adjust placement.
- Use a squeegee to push water and air bubbles from the center outward toward edges. Work in overlapping strokes to avoid trapping moisture.
- Trim excess film using a sharp blade held at a slight angle against the glass edge. A fresh blade prevents tearing.
- Final squeegee pass along all edges, pressing firmly to ensure adhesion and seal out moisture.
- Allow curing time of several days to weeks depending on film type. Avoid cleaning or touching the film during this period.
Tool Requirements and Surface Preparation
Essential tools for installation include:
- Sharp snap-off blades or precision cutting knife
- Soft rubber squeegee (hard plastic card for final passes)
- Spray bottle for slip solution
- Measuring tape
- Lint-free microfiber cloths
- Heat gun (optional, for smoothing edges on large panes)
Surface preparation directly affects how well your film adheres. Glass must be completely clean—even invisible residues from previous cleaners can cause adhesion failure. Use rubbing alcohol for final cleaning on stubborn surfaces.
Temperature matters significantly: maintain room temperature around 70°F (21°C) during installation. Cold glass causes adhesive to set slowly and may prevent proper bonding. High humidity can affect static cling films’ ability to stay held in place.
Professional vs. DIY Installation Comparison
| Criterion | DIY Installation | Professional Installation |
|---|---|---|
| Cost | $2-8 per sq ft (materials only) | $8-25 per sq ft (labor + materials) |
| Time Investment | 2-4 hours per window | 15-30 minutes per window |
| Skill Level Required | Moderate (patience needed) | Expert |
| Warranty Coverage | Often voided | Manufacturer warranty valid |
| Quality Results | Variable (learning curve) | Consistent, professional finish |
| For homeowners comfortable with DIY projects, small to medium windows with frosted or decorative films are easy to tackle, while partnering with professional 3M window film installers can be advantageous for more complex projects. Large reflective films, corner windows, and curved glass benefit from professional installation—the precision required makes mistakes costly. |
Professional installers also bring experience handling common problems, which brings us to troubleshooting issues you may encounter.
Common Challenges and Solutions
Even careful installation can encounter problems. Understanding causes and fixes helps you achieve the professional look you wanted.
Bubble Formation During Installation
Air bubbles typically result from insufficient slip solution, rushed squeegee technique, or debris trapped under the film. Small water bubbles are normal and will evaporate during the curing period—don’t puncture them.
For stubborn air bubbles that remain after curing, use a pin to create a tiny hole at the bubble’s edge, then press flat with a hard card squeegee. Working from the center outward with overlapping strokes during initial application prevents most bubble issues. Ensure adequate water coverage on both glass and film before positioning.
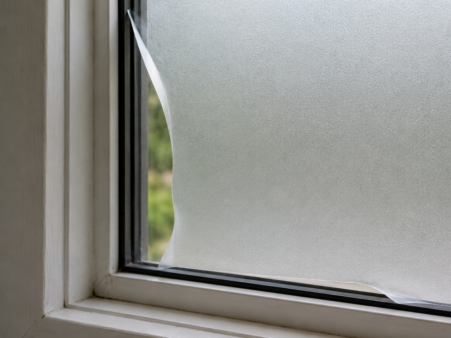
Film Peeling or Poor Adhesion
Peeling usually starts at edges and corners, caused by installation in cold temperatures, excessive slip solution, or contaminated glass surfaces. The adhesive requires clean, warm conditions to bond properly.
Prevention steps:
- Maintain 70°F room temperature during installation
- Use minimal soap in slip solution (too much prevents adhesion)
- Clean glass edges thoroughly—this area often gets missed
- Press edges firmly with hard card after trimming
- Allow full curing time before cleaning or touching
If peeling begins, you can sometimes re-press edges using heat from a hairdryer to reactivate adhesive. Severe peeling requires removal and replacement—the film cannot be successfully re-stuck once adhesive fails.
Choosing Wrong Film Type for Specific Needs
The most common mismatch involves selecting insufficient privacy levels for bathroom windows or shower doors, or choosing reflective films without understanding nighttime limitations.
Consider these factors before purchasing:
- Daytime vs. 24-hour privacy needs: Reflective films only work when outside is brighter
- Light requirements: Heavy frost or blackout window film darken rooms significantly
- Viewing angles: Patterned films may have clear zones at certain angles
- Regulations: HOA rules may restrict reflective or dark films
Cloaking films can obscure digital screens from outside observers while keeping the rest of the room visible—a specialized solution for home offices facing the street.
Test samples before committing to large purchases. Many sellers offer small pieces to evaluate opacity and appearance in your specific lighting conditions.
Conclusion and Next Steps
Privacy window film offers homeowners and renters an effective way to enhance privacy without sacrificing natural light. From frosted bathroom windows to decorative stained glass designs on front doors, these films transform plain glass into functional, stylish features while providing UV protection and energy savings.
Quality films block up to 99% of UV radiation, protecting both occupants and interior furnishings from sun damage. Heat-rejecting films can reduce cooling costs by lowering solar heat gain—a benefit that compounds over years of use.
Your immediate next steps:
- Measure all windows you want to cover (width and height)
- Determine your privacy timeline needs (daytime only vs. 24-hour)
- Select film type based on light transmission and aesthetic preferences
- Gather installation tools or schedule professional installation
- Plan installation for a day with moderate temperature (around 70°F)
Need More Info?
The Window Film Depot team is happy to help.
For continued home improvement, explore related solutions like security, solar control, and decorative films for impact resistance and energy savings, or decorative glass treatments for interior partitions.
Frequently Asked Questions
How long does privacy window film last?
Premium ceramic and metallized films with proper installation last 10-15 years without significant fading, peeling, or bubbling. Lower-cost dyed films may degrade within 1-3 years, showing color changes or adhesion failure. Environmental factors like intense sun exposure and humidity accelerate wear on all film types.
Can privacy window film be removed without damaging windows?
Static cling films remove cleanly with no residue—simply peel from a corner. Adhesive films require more effort: warm the film with a hairdryer to soften adhesive, then peel slowly. Some adhesive residue may remain, removable with rubbing alcohol or commercial adhesive remover. Proper removal rarely damages glass itself.
Does privacy window film block UV rays?
Quality privacy films block 99-99.9% of UVA and UVB radiation, protecting skin and preventing fading of furniture, flooring, and artwork. Even clear UV-blocking films achieve similar protection without affecting light transmission or appearance.
Which privacy film works best for bathroom windows?
Frosted or etched films with 30-50% visible light transmission provide excellent privacy while maintaining bright, diffused natural light. These films obscure all detail while creating an elegant spa-like aesthetic. For shower doors, choose films rated for high-humidity environments.
Can privacy window film reduce energy costs?
Films with low Solar Heat Gain Coefficient (SHGC) values—typically below 0.3-0.5—significantly reduce solar heat entering through windows. This lowers air conditioning demand in summer. Ceramic films offer the best heat rejection (up to 95% infrared blocking) without the signal interference of metallized options.
How do you clean windows with privacy film?
Wait until the film fully cures (typically 3-30 days depending on type). Use mild, non-abrasive cleaners—avoid ammonia, vinegar, and harsh solvents that can damage the film surface. Apply cleaner to a soft microfiber cloth rather than spraying directly. Never use abrasive pads or scrapers.
What’s the difference between frosted and etched glass film?
Both create similar obscured appearances, but frosted films use uniform micro-texture for consistent opacity, while etched films replicate the subtle variations of acid-etched glass with slight pattern irregularities. Etched films often appear more premium and glass-like. Both provide equivalent privacy levels.
Can privacy window film be applied to textured glass?
Standard films require smooth glass surfaces for proper adhesion. Textured or patterned glass prevents full contact, causing adhesion failure and visible air pockets. Some specialty films designed for textured glass exist, but selection is limited. Consult manufacturers for compatibility with your specific glass texture.
Additional Resources
Window Measurement Guide Measure each window’s width and height at multiple points—windows aren’t always perfectly square. Record the smallest dimension for each measurement to ensure your cut film fits without gaps.
Maintenance Schedule by Film Type
- Static cling: Inspect edges monthly; reposition if lifting occurs
- Adhesive frosted: Clean quarterly with mild solution
- Reflective/ceramic: Annual inspection for edge integrity; professional cleaning recommended
Energy Efficiency Ratings Look for NFRC-certified films displaying Solar Heat Gain Coefficient (SHGC) and Visible Light Transmission (VT) values. For hot climates, prioritize films with SHGC below 0.4 and Light-to-Solar-Gain (LSG) ratios above 1.0 for optimal efficiency.
Professional Installation Services For large projects or complex windows, search for IWFA (International Window Film Association) certified installers in your area. Certified professionals ensure manufacturer warranty coverage and proper application techniques.

